Saturday, July 19, 2014
Little Green Man Prototype Build, Part 3, Still More Fins
The main leg fins were also pinned and gang sanded.
Grain direction breaks are possible but sanding the fins together helped keep it from happening.
Forward strake ears were fitted to the nose cone using the rounded side of the sanding block.
A good fit here saves filling the joint later on. A fillet of Titebond M&TG should be enough.
Two more forward arms are cut, pinned and gang sanded.
I know, what does this shape represent?
The first fin template shapes are being changed for better fin strength and easier grain filling.
Friday, July 18, 2014
Orders! July 18, 2014
I'm sending off a pre-NARAM order to Apogee today.Apogee will be at NARAM with a small litter of PIGASUS kits for sale.
They will also have other Odd'l products available.
As soon as I get another order of laser cut fins -
Another batch of Pigs and kits will go to Uncle Mike's Rocket Shack.
The first batch of laser cut fins have been ordered for the Little Green Man.
The first run of kits will be limited to 10. If those sell, more will be produced.
Thursday, July 17, 2014
Little Green Man Prototype Build, Part 2, More Fins
Here's an old school idea -
Pin the fins together when gang sanding. This is helpful when the fins are hard to hold together when sanding and trimming.
You can see I pinned the pattern right on top of the stacked fin pieces.
Go easy when pressing the fins through the wood. It's easy to split the balsa down the grain.
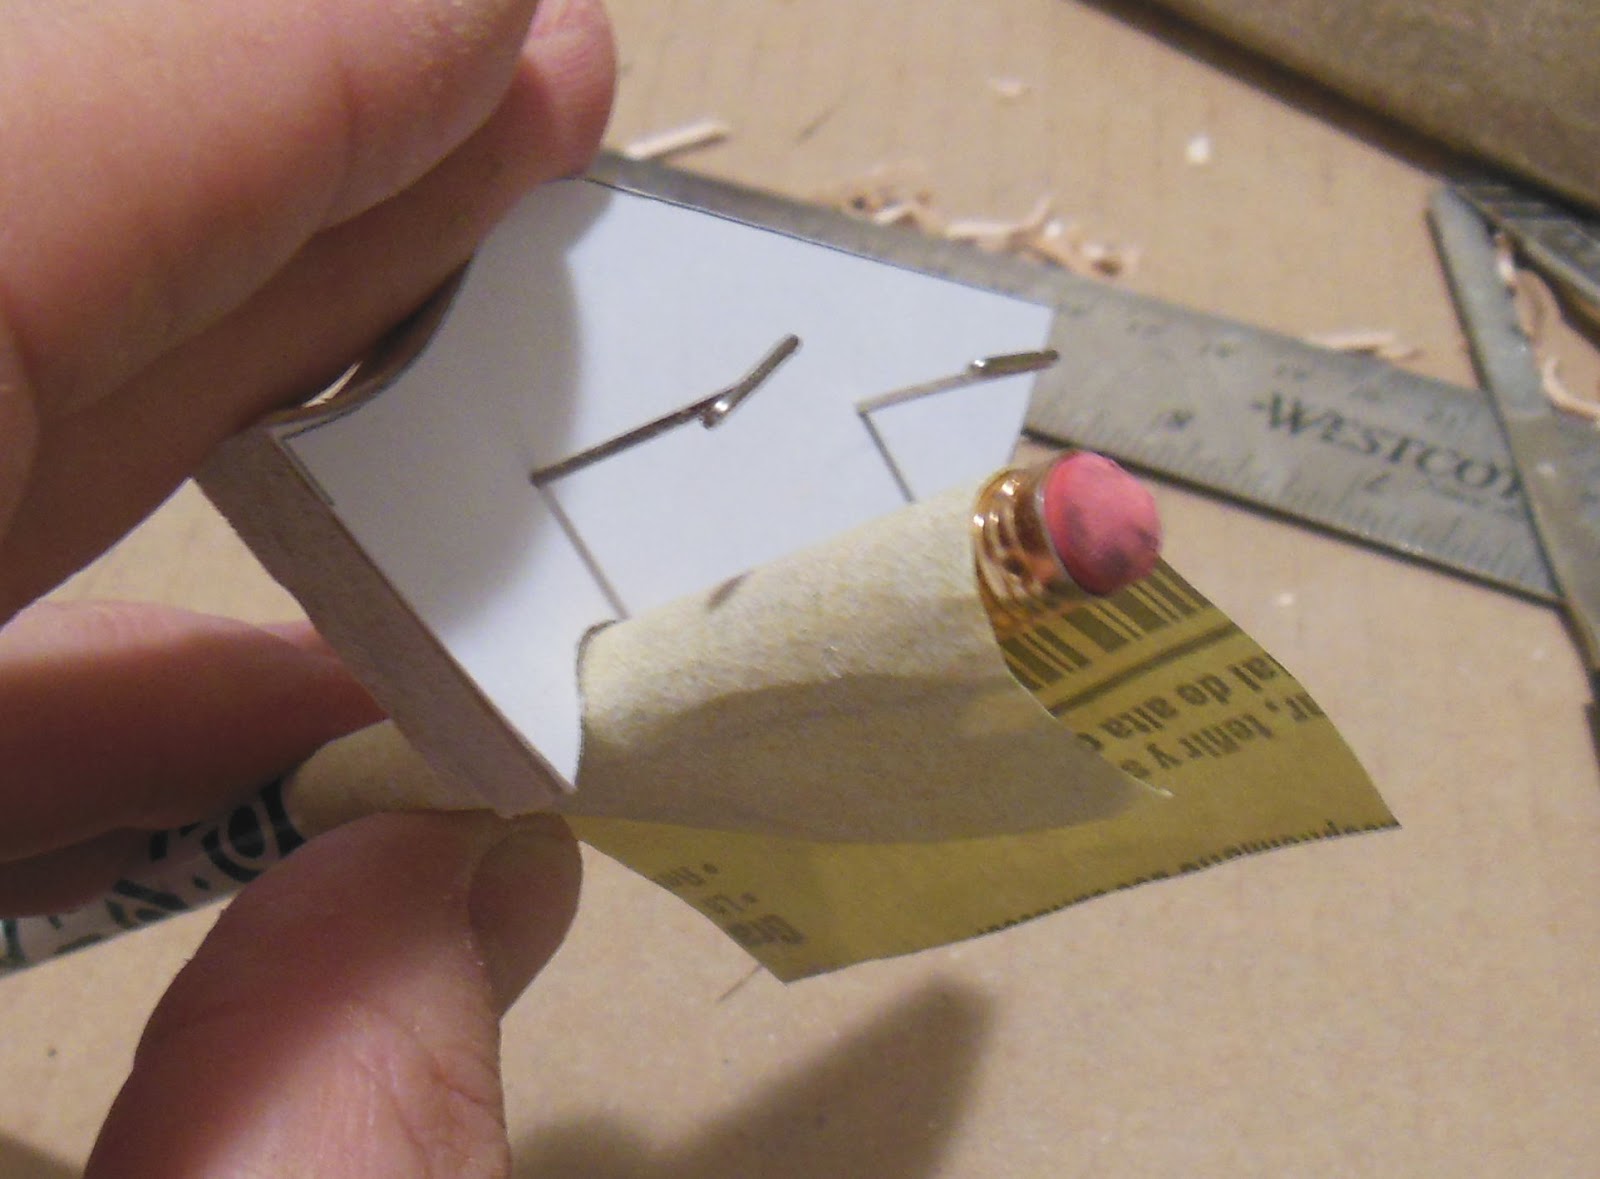
The concave side curve was sandedusing the side of my old Warner sanding block.
The sharp inside corner was shaped with the angled side of a diamond file.
The pins were pulled and the pieces separated.
The pin holes will be easily filled with CWF.
Wednesday, July 16, 2014
Little Green Man Prototype Build, Part 1, Fins
This build will show the steps (and changes) made in a kit prototype build - of the new Little Green Man.
The fins have a complex shape, both inside and outside curves.
This is old school, no laser cutting until it becomes a kit.
All the sides were cut square and rounded edges will be shaped using dowels and files.
This isn't even all the balsa, I realized I forgot to cut two pieces after the picture was taken.
The patterns were printed on 110 lb. card stock and cut out on the outside lines.
The like, rough cut balsa pieces were stacked and sanded using the pattern piece as an edge guide.
These two pieces are the easiest to gang sand.
Here's the first two pieces ready for filling.
No, they are not the same size.
The fins have a complex shape, both inside and outside curves.
This is old school, no laser cutting until it becomes a kit.
All the sides were cut square and rounded edges will be shaped using dowels and files.
This isn't even all the balsa, I realized I forgot to cut two pieces after the picture was taken.
The patterns were printed on 110 lb. card stock and cut out on the outside lines.
The like, rough cut balsa pieces were stacked and sanded using the pattern piece as an edge guide.
These two pieces are the easiest to gang sand.
Here's the first two pieces ready for filling.
No, they are not the same size.
Tuesday, July 15, 2014
New Odd'l Design - LITTLE GREEN MAN - First Drawing to Prototype
The New Odd'l Rockets Little Green Man design came from an email suggestion.
I was asked to come up with an original design.
I never knew a few sketches could end up being a new kit.
Here's the first drawing of the Little Green Man.
Some of the design elements were inspired by online cartoon images.
But I had to make it my own.
Besides, this drawing looked like a Little Green Baby.
Four re-draws later and I had enough to start the prototype.
The eyes are now closer to the old Warner Bros. cartoon eyes.
The mouth got even longer and a lower lip was added.
During the build the small hands were changed for more balsa grain strength.
The fin-leg outside edge angles were changed. The feet were at too low an angle.
The left and right antennas were flipped, the bent, short antenna is now over the taller eye.
The hands were glued on a little lower on the body to make the torso smaller.
The belt and ray gun were added.
Fingernails, toenails and a bigger tooth were needed.
The finished prototype - The Odd'l Rockets
LITTLE GREEN MAN!
It's always interesting to see your finished designs in 3D.
This one still keeps the looks of the final drawing.
Now I've just got to build a few and test fly a dozen times!
For the next build -
It might need four legs to set the flat feet forward.
The hands will probably end up like the second drawing with just two fingers. The nails would be water slide decals in a darker green, not blue.
Talk about child bearing hips! I'll fix that.
The belt buckle still needs some tweaking. Maybe some belt loops?
The ears will be glued higher on the head, one higher than the other.
Oh, on the back side, add a ray gun under the belt!
You should see how many changes the Pigasus design went through before being kitted.
Most changes were subtle but needed for strength and easier assembly.
Here's the first drawing of the Little Green Man.
Some of the design elements were inspired by online cartoon images.
But I had to make it my own.
Besides, this drawing looked like a Little Green Baby.
Four re-draws later and I had enough to start the prototype.
The eyes are now closer to the old Warner Bros. cartoon eyes.
The mouth got even longer and a lower lip was added.
During the build the small hands were changed for more balsa grain strength.
The fin-leg outside edge angles were changed. The feet were at too low an angle.
The left and right antennas were flipped, the bent, short antenna is now over the taller eye.
The hands were glued on a little lower on the body to make the torso smaller.
The belt and ray gun were added.
Fingernails, toenails and a bigger tooth were needed.
LITTLE GREEN MAN!
It's always interesting to see your finished designs in 3D.
This one still keeps the looks of the final drawing.
Now I've just got to build a few and test fly a dozen times!
For the next build -
It might need four legs to set the flat feet forward.
The hands will probably end up like the second drawing with just two fingers. The nails would be water slide decals in a darker green, not blue.
Talk about child bearing hips! I'll fix that.
The belt buckle still needs some tweaking. Maybe some belt loops?
The ears will be glued higher on the head, one higher than the other.
Oh, on the back side, add a ray gun under the belt!
You should see how many changes the Pigasus design went through before being kitted.
Most changes were subtle but needed for strength and easier assembly.
The prototype build will follow!
Monday, July 14, 2014
Little Green Man Fin Changes, Part 2
When building the newest prototype more minor changes were made on the L.G.M. feet and hands.
On the left is the shape I had originally planned. On the right the final shape for laser cutting.
The subtle change is the rounded corner crux between the big toe and toes.
On the hand it's between the two fingers.
This was done for balsa strength and ease of filling. It would be harder to fill and sand a tight inside corner.
On the left is the shape I had originally planned. On the right the final shape for laser cutting.
The subtle change is the rounded corner crux between the big toe and toes.
On the hand it's between the two fingers.
This was done for balsa strength and ease of filling. It would be harder to fill and sand a tight inside corner.
Little Green Man Fin Changes Part 1
On the left is the first prototype hands for the upcoming Little Green Man kit.
They looked too thick. I had originally drawn them as shown in the inset picture but was concerned about the balsa grain direction.
After the model was built and flown I realized the "thumb" is pretty well protected and the chance of the balsa grain cracking there is small.
On the prototype, the blue fingernails were cut from trim Monokote.
In the kit these will be water slide decals, two dark green fingernails.
The Little Green man is painted a Rustoleum Key Lime Green overall.
On the prototype, the three turned up feet were probably set out at too much of an angle.
In the next build and kit the angle will be closer to vertical. The black tape shows the area that will be removed.
The angled feet create some base drag and actually help stabilize the rocket.
The new foot angle will get some better altitude.
They looked too thick. I had originally drawn them as shown in the inset picture but was concerned about the balsa grain direction.
After the model was built and flown I realized the "thumb" is pretty well protected and the chance of the balsa grain cracking there is small.
On the prototype, the blue fingernails were cut from trim Monokote.
In the kit these will be water slide decals, two dark green fingernails.
The Little Green man is painted a Rustoleum Key Lime Green overall.
On the prototype, the three turned up feet were probably set out at too much of an angle.
In the next build and kit the angle will be closer to vertical. The black tape shows the area that will be removed.
The angled feet create some base drag and actually help stabilize the rocket.
The new foot angle will get some better altitude.
Subscribe to:
Posts (Atom)