Showing posts with label Design. Show all posts

Friday, September 19, 2014

Odd'l Inspired Designs?


Here's two models that may have had some Pigasus influence in their designs.

Dick Stafford's Cochon d' Eau (French for Water Pig) is a water rocket.
The wide bottle fits the pig profile well. He built it for his grand kids.


Tom (Babar on TRF) posted pictures and a video of his Squirrel rocket.
It was stable on B6-4 engines but might need nose weight for C6-5s.
The TRF thread and video is HERE
Both great designs!

Tuesday, September 2, 2014

Flare / Bell Bottom Build, Part 2 Design Process


Here's the back view with the shroud over a 5/60 centering ring.
There's no engine hook, the engine is slid in place and gets a wrap of masking tape over the BT-5 tube.

The extended shroud isn't as strong as I would like.


Below the centering ring I'm adding a short "nested" shroud.
This will but up against the centering ring and be even with the back end of the outside shroud.


The entire model was dry fitted to see the finished shape.
I'll probably keep the launch lug short, right beneath the hole in the shroud. It's never easy to trim the lug end even with the angle of the shroud.

Saturday, August 9, 2014

L.G.M. Instruction Face Card Art


I've finished the face card art for the first instruction page.

This involved a dozen photographs of the second prototype in different lighting.
The best was picked and cropped around the outside lines.
Color enhancement was done, then contrast and brightness.
A tip vortex was drawn off the legs and flame and exhaust off the back end.

I'd rather give the customer an actual picture off a real finished model instead of a model drawn in 3D.

After I get in two more flights using C6-5 engines it'll be time to bag them up!

Saturday, August 2, 2014

First and Second Prototype Comparisons


The previous posts showed the first prototype build.
To the left is the second Little Green Man Prototype and the final kit version.

Anytime an original design is finished, I'll look at it close and wish some things were different.
This design went through subtle changes between the first and second versions.


The finished model is on the left.
The belt buckle is slightly smaller and an oval shape.
If you cut it out carefully, the buckle will have a black border.
The hands now have individual fingers. The finger and toe nails are now green.


The angle of the feet are turned up, closer to vertical.
The feet are a bit larger.
The green toe nails are bordered in black and have a more defined shape.

The upper half of the model stayed pretty much the same.

Wednesday, July 23, 2014

Little Green Man Prototype Build, Part 5, Fin and Feet Gluing

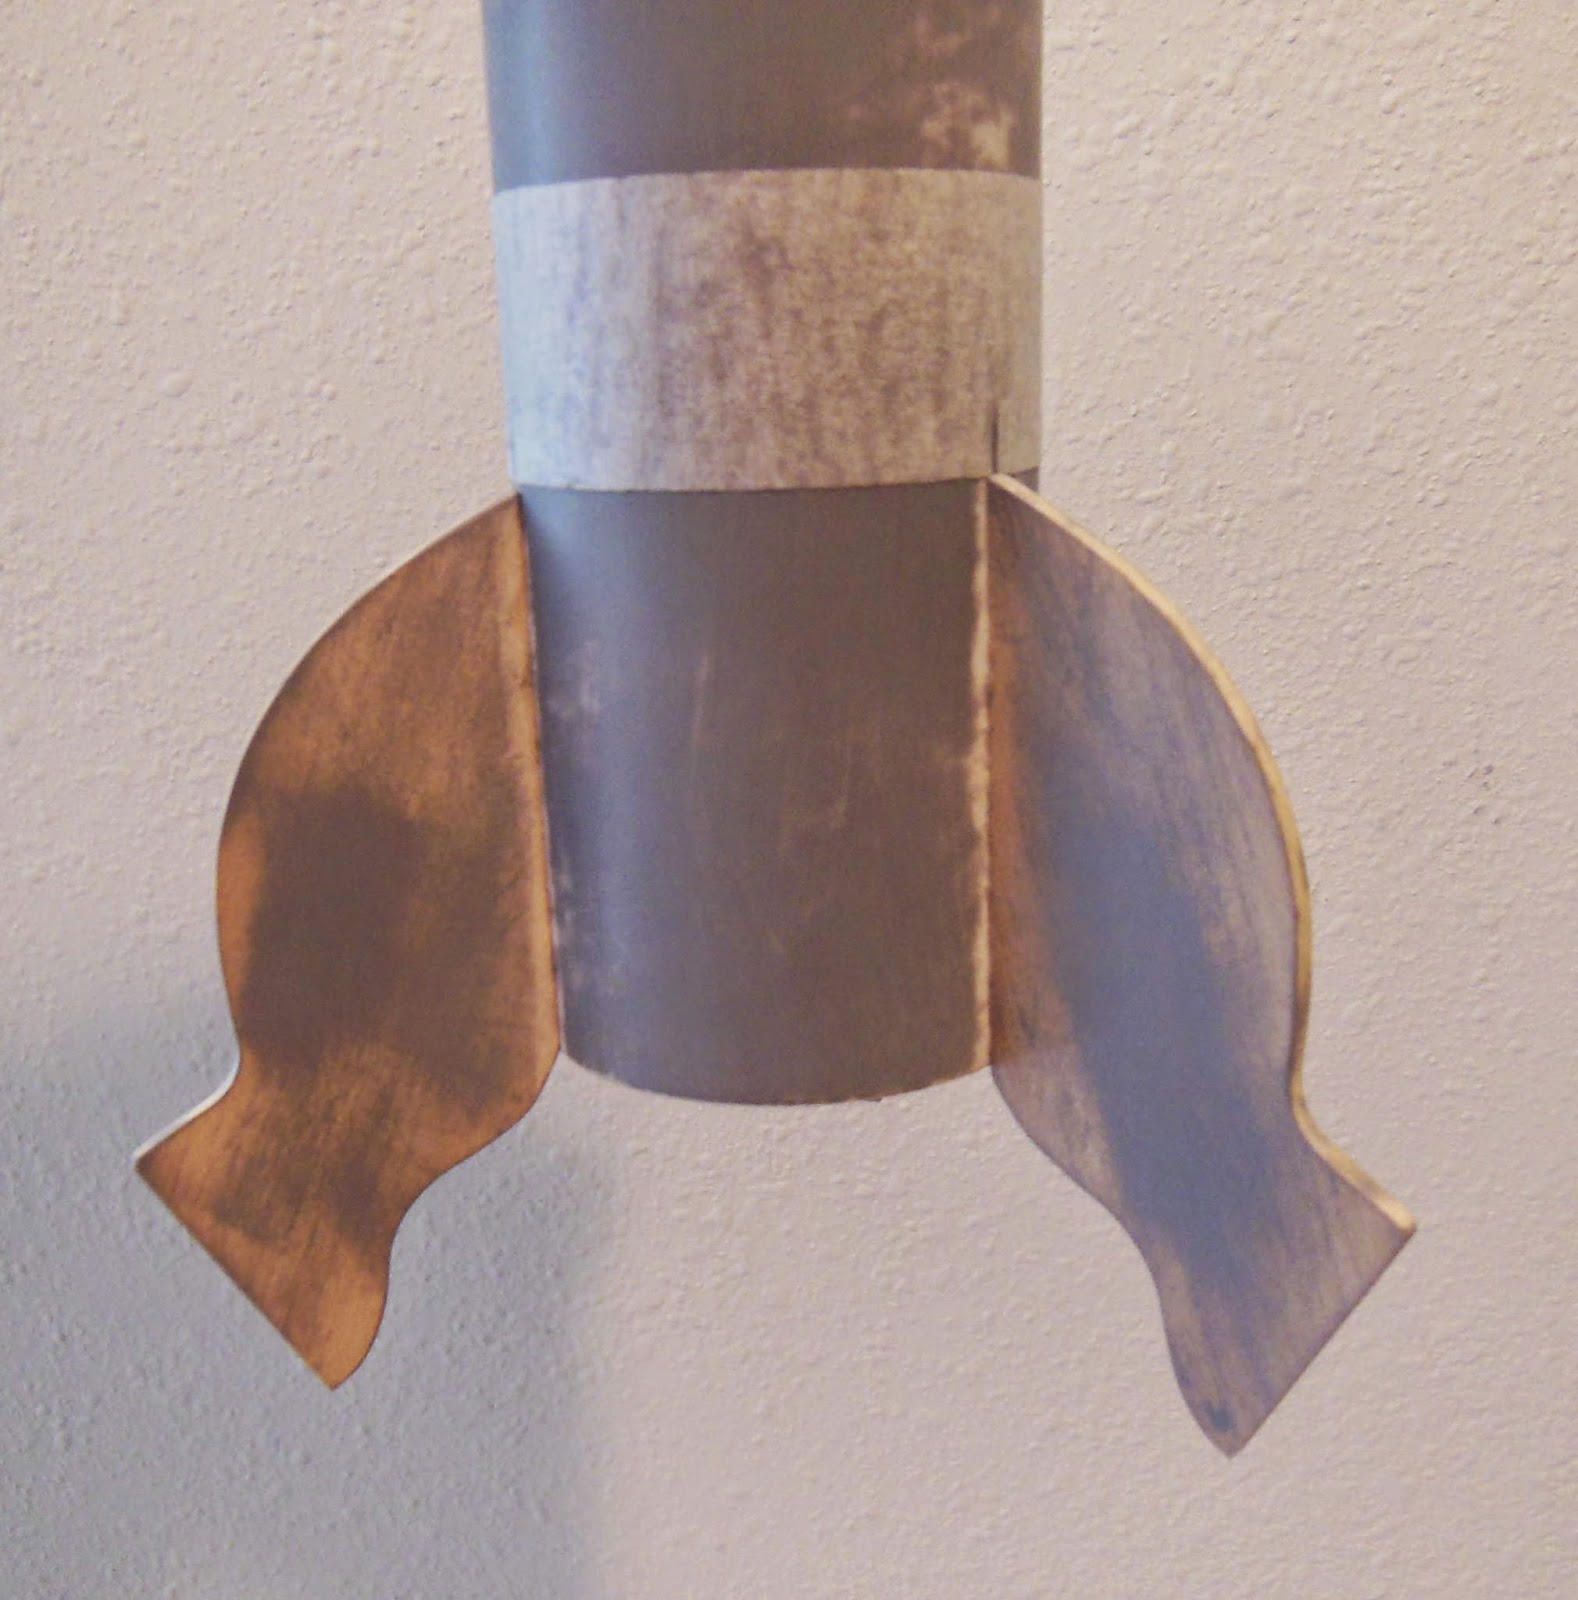
The three fin lines were drawn and the primer sanded down for better adhesion.
The fins are even with the rear of the tube.
To make positioning easier, the pencil line was extended around the end of the tube. A line was also drawn down the middle of the leading and trailing ledges.
The middle fin lines were simply matched up to the line on the body tube.


To be sure the fin height was the same, a wrap of masking tape was rolled around the tube after the first fin was glued on.

The feet were glued onto the outside edge of the main fin leg.

The "toes" were turned out from the heel end.
The inset picture shows the angle of the glue line.


The launch lug is glued to the root edge of the back third leg.

Sunday, July 20, 2014

Little Green Man Prototype Build, Part 4, Fin Revision and Balsa Laser Layout


The larger lower fins needed some subtle shape change.
For two reasons - 
1. More strength after seeing the balsa grain ended up and
2. A better angle for less drag with the "T" foot piece glued to the outside edge.

The original fin is on top, the revised fin is under it.


Here's the revised upper and lower fins.
The fins were photographed with the 1" length for reference.
I can drop the jpeg picture into Corel Draw, size it to the 1" reference line and trace the new shapes.

Looking ahead, I wanted to see how all the balsa would fit on a 3" or 4" widths of balsa sheet for laser cutting.
The top picture shows the pieces set on a 4" width. The length was 7 1/4".
It's like a puzzle. Laying out the pieces takes many tries.
Using cut balsa you can see the correct grain direction.
The pieces have to be spaced so the laser cuts can't overlap.
I ended up fitting them all onto a 3" X 9" area.
On a 36" long balsa sheet I can cut four sets of fins.

Tuesday, July 15, 2014

New Odd'l Design - LITTLE GREEN MAN - First Drawing to Prototype

The New Odd'l Rockets Little Green Man design came from an email suggestion. I was asked to come up with an original design. I never knew a few sketches could end up being a new kit.


Here's the first drawing of the Little Green Man.
Some of the design elements were inspired by online cartoon images.
But I had to make it my own.
Besides, this drawing looked like a Little Green Baby.
Four re-draws later and I had enough to start the prototype. 

The eyes are now closer to the old Warner Bros. cartoon eyes.
The mouth got even longer and a lower lip was added.
During the build the small hands were changed for more balsa grain strength.
The fin-leg outside edge angles were changed. The feet were at too low an angle.
The left and right antennas were flipped, the bent, short antenna is now over the taller eye.
The hands were glued on a little lower on the body to make the torso smaller.
The belt and ray gun were added.
Fingernails, toenails and a bigger tooth were needed.

The finished prototype - The Odd'l Rockets
LITTLE GREEN MAN!

It's always interesting to see your finished designs in 3D.
This one still keeps the looks of the final drawing.
Now I've just got to build a few and test fly a dozen times!

For the next build - 
It might need four legs to set the flat feet forward.
The hands will probably end up like the second drawing with just two fingers. The nails would be water slide decals in a darker green, not blue.
Talk about child bearing hips! I'll fix that.
The belt buckle still needs some tweaking. Maybe some belt loops?
The ears will be glued higher on the head, one higher than the other.
Oh, on the back side, add a ray gun under the belt!

You should see how many changes the Pigasus design went through before being kitted.
Most changes were subtle but needed for strength and easier assembly.
The prototype build will follow!